Creating an Accession
The end-to-end walkthrough for creating a new accession. The wizard is six steps — most of them are quick.
Before you start
- Have your files ready (on your computer or accessible via the browser).
- Have a one-line description in mind ("Correspondence and manuscripts from the Shaftesbury Estate, 1956–1967"). Optional but materially improves AI accuracy.
- Check the Items this month card on your Dashboard — make sure you have quota remaining.
Step 1 — Describe Collection
Click New Accession in the top bar. The first step is Describe Your Collection.

Things on this screen:
- Accession number (pre-filled). The platform suggests the next number in your organisation's sequence (e.g. "2026/001" for yearly numbering, or "ACC-042" for continuous numbering). You can clear it or edit it for back-cataloguing — manual numbers don't advance the automatic counter. Configure your numbering format in Settings → Numbering.
- Description (optional textarea). Anything you write here is passed to the AI as orientation. Put down what the collection actually is — period, provenance, subject matter.
- What's in your accession? — pick a collection type:
- Documents — letters, reports, manuscripts, scans
- Photographs — prints, negatives, digital photos
- Artefacts & Objects — physical objects photographed for the record
- Audio — oral histories, recordings, interviews
- Video — film, video tape transfers, born-digital video
- Mixed — several types, let the AI auto-detect
Picking a single type skips per-file auto-categorisation. You can still override any file individually in Step 3.
The collapsible Professional archival context drawer lets you set repository name, finding-aid notes, and rights statements that apply to the whole batch.
Click Next.
Step 2 — Upload Files
Drag from your file manager, or click Browse files. Uploads run in parallel and the page tells you what's done, in flight, and waiting.
Limits by plan:
| Plan | Files per accession | Max file size (doc / image / audio / video) |
|---|---|---|
| Community | 10 | 10 MB / 10 MB / — / — |
| Professional | 25 | 50 MB / 500 MB / 500 MB / 2 GB |
| Team | 75 | 50 MB / 500 MB / 500 MB / 2 GB |
| Enterprise | Unlimited | Unlimited |
See Uploading Files for supported formats per category.
Files on the Community (free) plan are automatically deleted after 28 days. Upgrade to keep your archive permanently.
Step 3 — Review Classifications
Once processing finishes, every item gets a metadata record. The review screen lets you check and correct what the AI inferred.
What you can do here:
- Switch between list and table view (icons at top left)
- Filter by All or Flagged — see only what needs attention
- Expand a row to view and edit every field in that item's schema
- Accept by category — bulk-approve one category at a time
- Play audio and video inline (the speaker / play icon on media rows)
See Reviewing Classifications for the detail.
Step 4 — Custom Fields
If your organisation has defined extra fields in Settings → Data Model (donor reference, internal accession number, box location, anything else), the wizard surfaces them here so you can fill them in once. Skip if there's nothing relevant.
Step 5 — Processing
Background processing runs OCR, transcription, classification, and authority resolution. You can close the tab; you'll see the in-progress accession on your Dashboard and can come back to it.
For mixed accessions on Professional+, a video item counts as 3 items against your monthly quota.
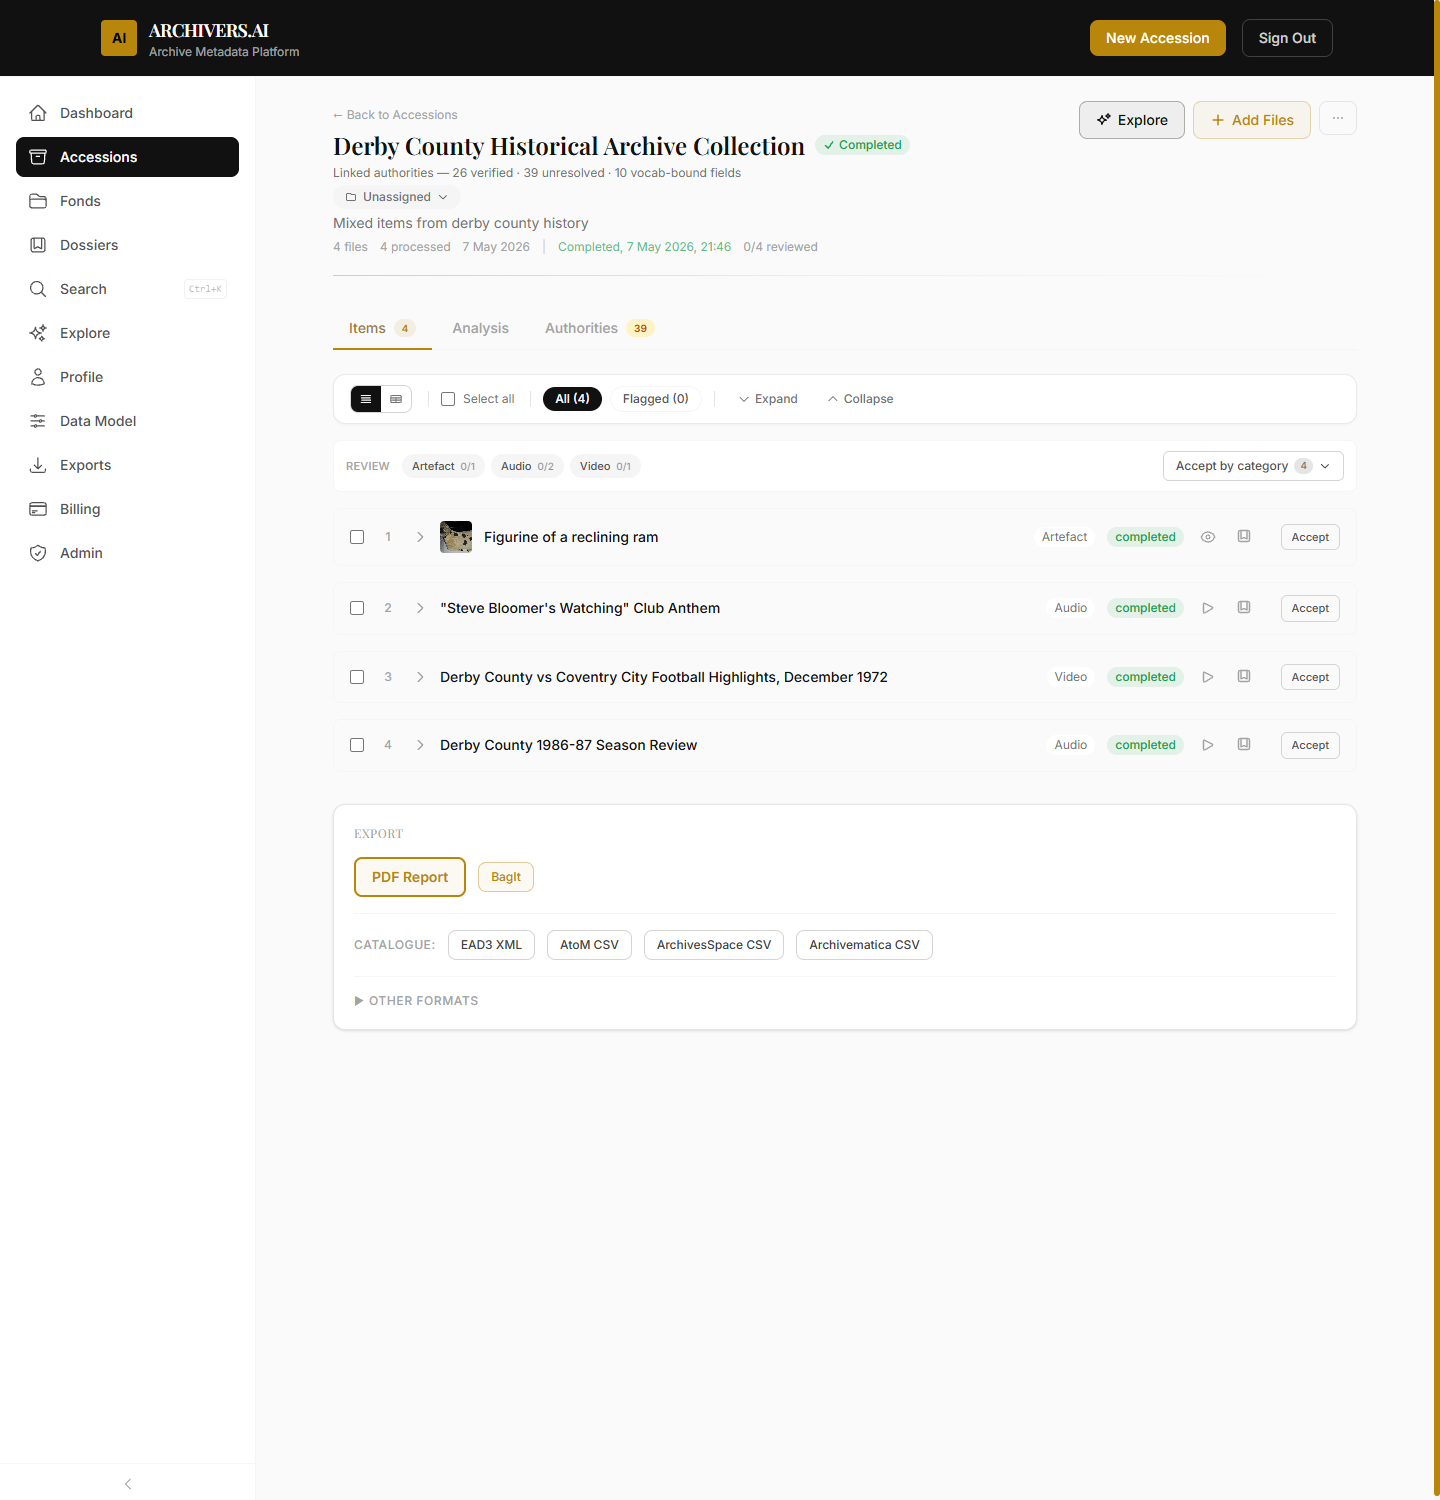
Step 6 — Results & Export
You're done. The accession status flips to Complete and the Results page shows:
- A preview of the catalogue record
- Quick-export buttons — PDF Report, BagIt, EAD3 XML, AtoM CSV, ArchivesSpace CSV, Archivematica CSV, plus the Other formats drawer
You can re-export at any time from the accession page.
What to do next
- Assign it to a Fond. On the accession page, click the Unassigned dropdown under the title to place the accession in your archival hierarchy. See Assigning accessions.
- Review linked authorities. Switch to the Authorities tab to verify subjects, people, places, and organisations resolved to the right LCSH / FAST / Getty / VIAF / GeoNames records.
- Run Collection Analysis. Under the Analysis tab, click Analyse Collection for a top-down summary and proposed arrangement.