Creating and Linking Depositors
You can create a depositor two ways: from the Depositors directory, or in the moment, while linking one to an accession. Both end up with the same record.
From the Depositors directory
- Open Depositors in the sidebar.
- Click New depositor.
- Fill in:
- Name (required) — e.g. "Mrs Margaret Thompson", or "Uniper Ltd"
- Type — Individual or Organisation
- Do not contact — toggle on if this depositor has asked not to be contacted
- Contact email, Contact phone, Address
- Lawful basis for holding these details — free text, shown later in the depositor's data export
- Notes — internal only
- Click Create depositor.
If the name nearly matches one you already hold, a notice appears under the Name box as you type: You may already have this person, naming the match and how many accessions it has. Use this one instead links the existing record; No, this is someone different dismisses the notice and lets you carry on.
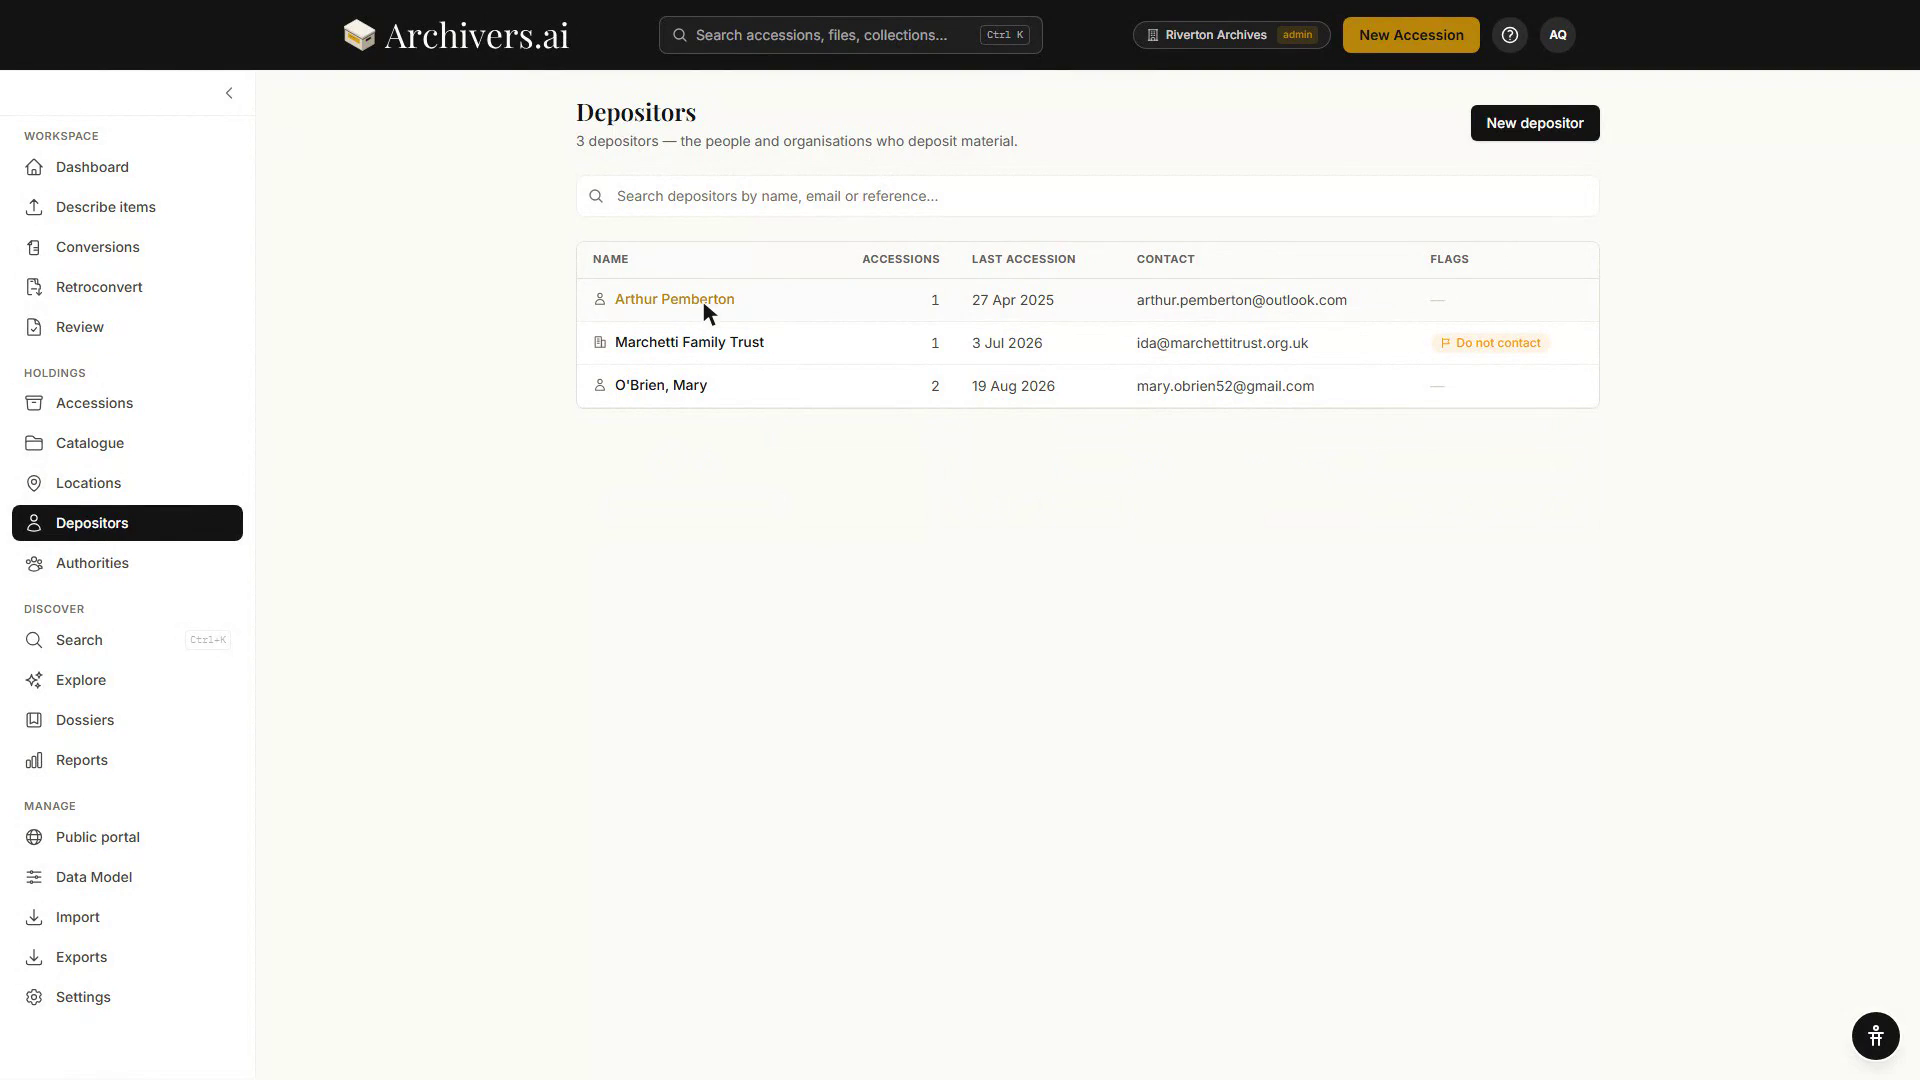
The Depositors directory lists every depositor in your organisation with search-as-you-type by name, email, or reference. Click through to a depositor to see their contact details, their data-protection panel, and every accession linked to them.
Linking a depositor to an accession
Open an accession and find the Depositor panel.
- If nothing is linked yet, click Link or create a depositor.
- The Link a depositor dialog opens: search for an existing depositor by name, or — under Not on the list? — click New depositor to fill in the same form as above without leaving the accession, then Create & link.
- Once linked, the panel shows the depositor's type, name, and contact details, with Change and Remove actions alongside.

A depositor flagged Do not contact shows a warning badge everywhere their record appears, so it's visible from the accession page as well as their own record.
During bulk import
If you're importing accessions from a spreadsheet, the import wizard's mapping step can match depositors by email: rows with an email that matches an existing depositor link to that depositor automatically, and rows with a new email create a depositor on the fly. Map a depositor email column to take advantage of this — see Importing accessions.