Reviewing Conversions
Checking happens on a dedicated screen, one page at a time. The original page is on the left; the records we extracted are on the right. You read down the photograph and down the list together.
Get Into Review
From the batch page, once processing is done, click Check the records.
You'll land on page 1, with every entry we found on that page shown as cards on the right. The left side shows the source photograph.
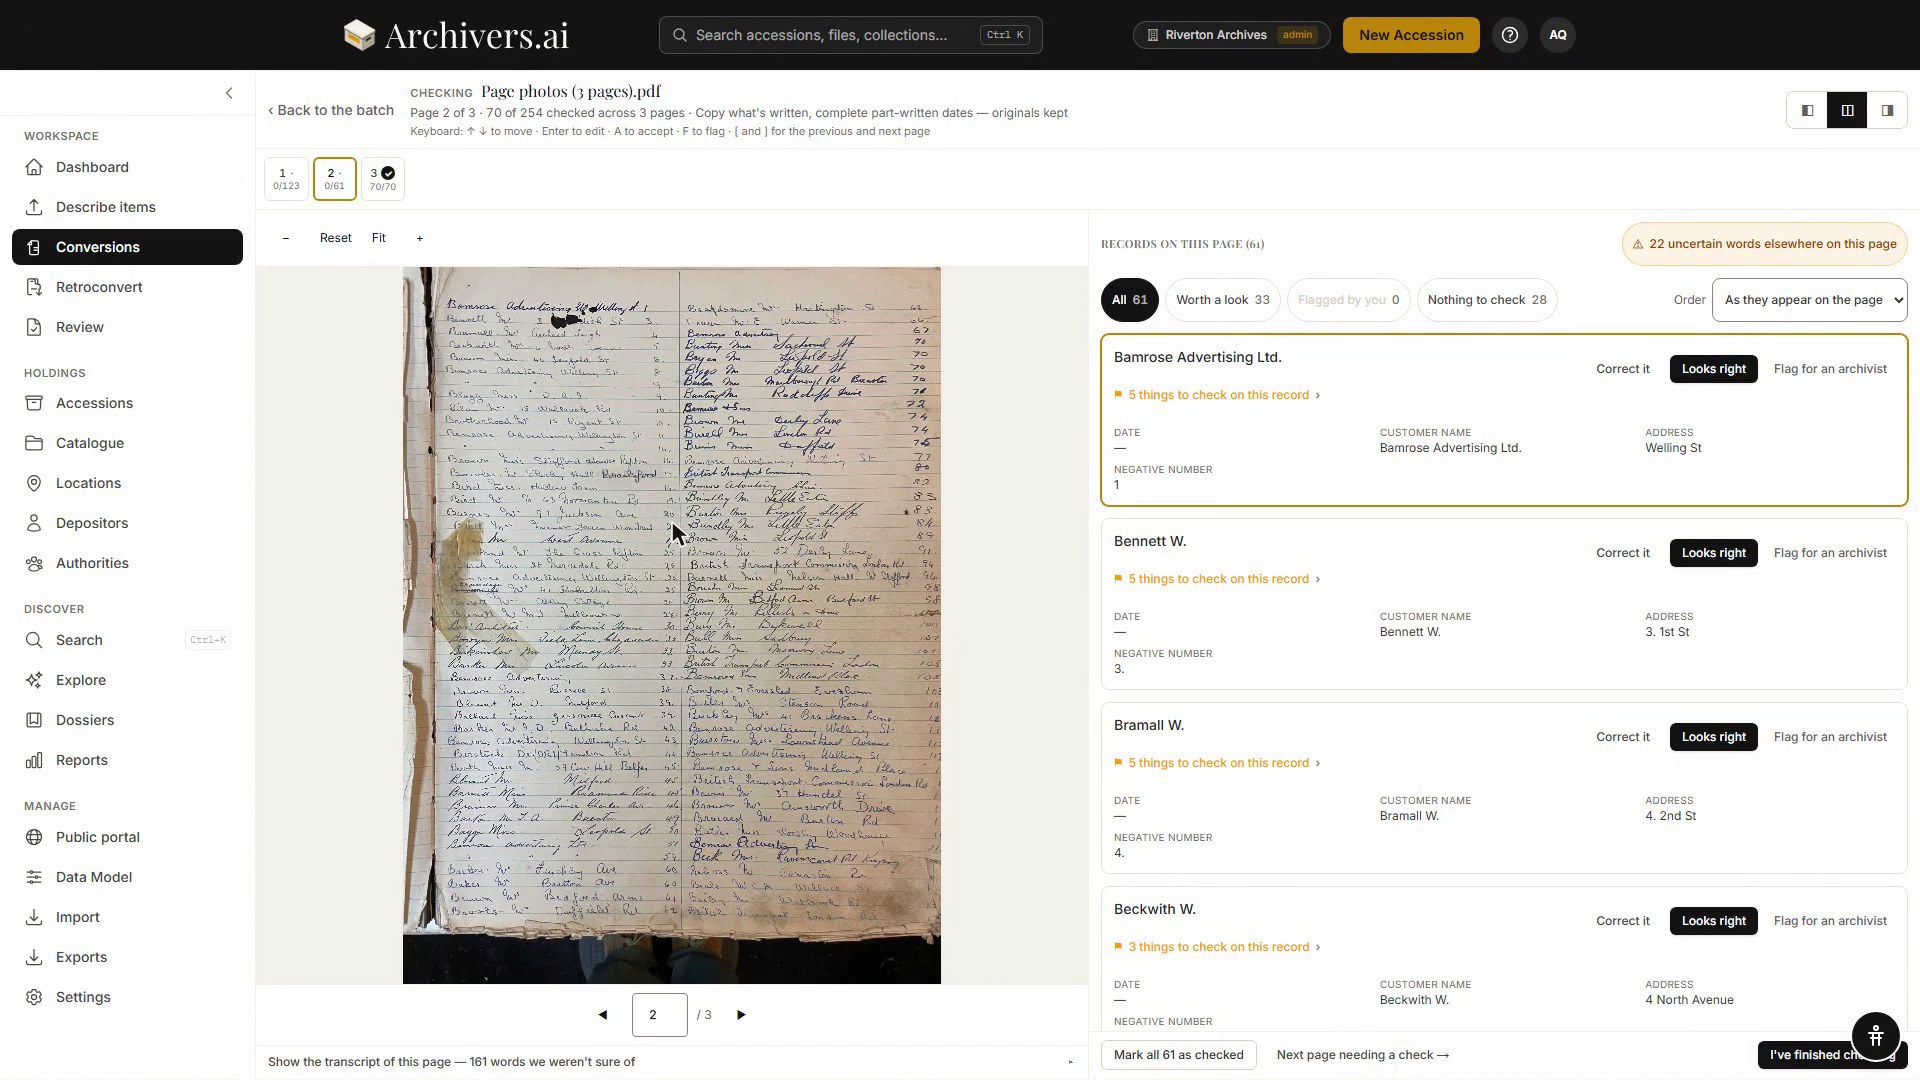
The Review Interface
Page strip (top). Every page in the batch, in page order. A tick means you've checked everything on that page. A dash means the page had nothing on it. The count under each page number tells you how many entries you've checked on that page so far.
Page image (left). The source photograph, zoomable. Click and drag to pan.
Record list (right). The entries we read off this page. Scroll through them, or use keyboard navigation (↑↓ to move, Enter to expand and edit, A to accept/undo, F to flag).
Width presets (top right). Give more room to either side — widen the page, split evenly, or widen the records. Your choice is remembered.
Understanding the Records
What we're certain about looks ordinary
A field we read from the photograph because the transcript couldn't help is marked quietly. A field where the photograph and the transcript flatly disagree is marked loudly — that one needs you, because one of the two readings is wrong and we can't tell which.
"Couldn't read this"
The column is blank on purpose. We could see there was something there and we could not make it out — the edge of the photograph cut it off, a shadow or a finger covered it, the ink has gone, or the handwriting defeated us.
A blank field with this mark is a correct answer, not a failure. It is the one thing we most want to be honest about: a made-up reference number that looks plausible is far worse for your catalogue than an empty box that says "read this one off the page yourself".
"Uncertain word"
The transcription wasn't confident about a particular word, and that word ended up in one of your fields. We show you the word in the middle of the writing around it, so you can find it on the page without hunting. Open N things to check on this record on the card to see them.
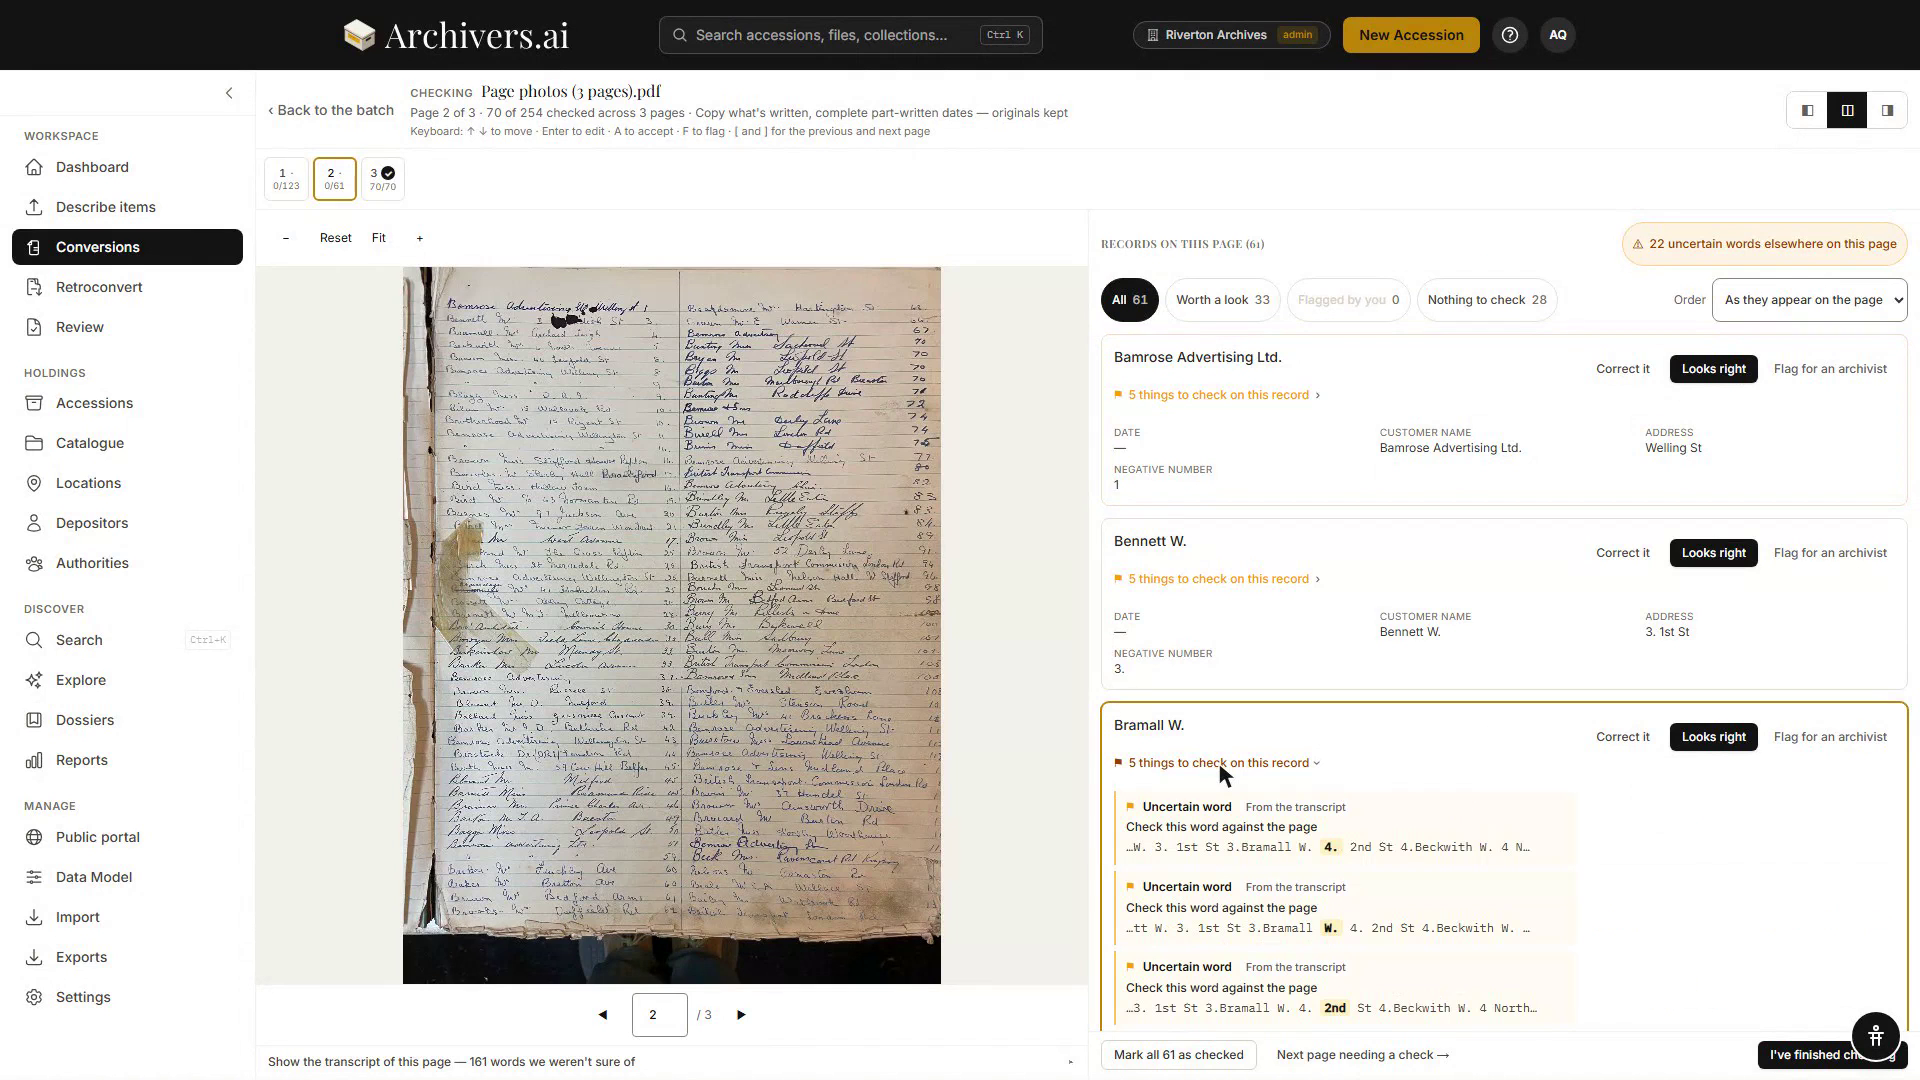
"Worth a look before you trust this page"
Occasionally a whole page comes back looking odd — many more entries than the page seems to hold, a run of reference numbers counting straight up, or the same name on nearly every line. That can be perfectly innocent (an index page really does hold a hundred names; a day's negatives really are numbered in order), so we file everything and simply say what we noticed. Read the page against the original before you accept it.
Reader's note
The system's own observation about an entry — unclear handwriting, a ditto mark expanded, something ambiguous. Informational, not an alarm.
Filtering: Show Only What Needs a Look
On a long page, the filter buttons narrow the list to:
- All — everything we read
- Worth a look — entries we marked as uncertain
- Flagged by you — entries you've flagged for an archivist
- Nothing to check — nothing marked, nothing flagged
Filtering never changes the order — records always stay in the order they appear on the page, so you can read down the photograph and down the list together.
Sorting: Put Them in a Different Order
Records normally appear in the order they appear on the page, so you can read down the photograph and down the list together. If you'd rather have them by reference number or by name, use the Order box beside the filters:
- As they appear on the page — the default; page order
- Reference — by your unique ID column (lowest or highest first)
- Name — by name field (A–Z or Z–A)
While you're in one of those alternate orders, the screen says so and offers one click back to page order.
What to Do
Accept. Click Looks right on the record card, or press A while it's highlighted, to mark it accepted. An accepted record shows a Checked badge and will file into your catalogue when you commit the batch.
Undo acceptance. Click Undo, or press A again, to unaccept. That record goes back to pending.
Edit a field. Click Correct it and edit the field value. Your changes are saved as you type.
Flag for an archivist. Press F, or click the flag icon on the card. A flagged record stays in the batch but is marked for someone else to review later. The count of flagged records stays visible while you work.
Finishing a page. The bar along the bottom shows three buttons:
- Mark all N as checked — accept everything left on this page. You'll be asked to confirm when there are more than ten records, because "checked" means a person read them.
- Next page needing a check — jump to the first page you haven't looked at yet
- I've finished checking — you're done reviewing; go to the commit/export screen
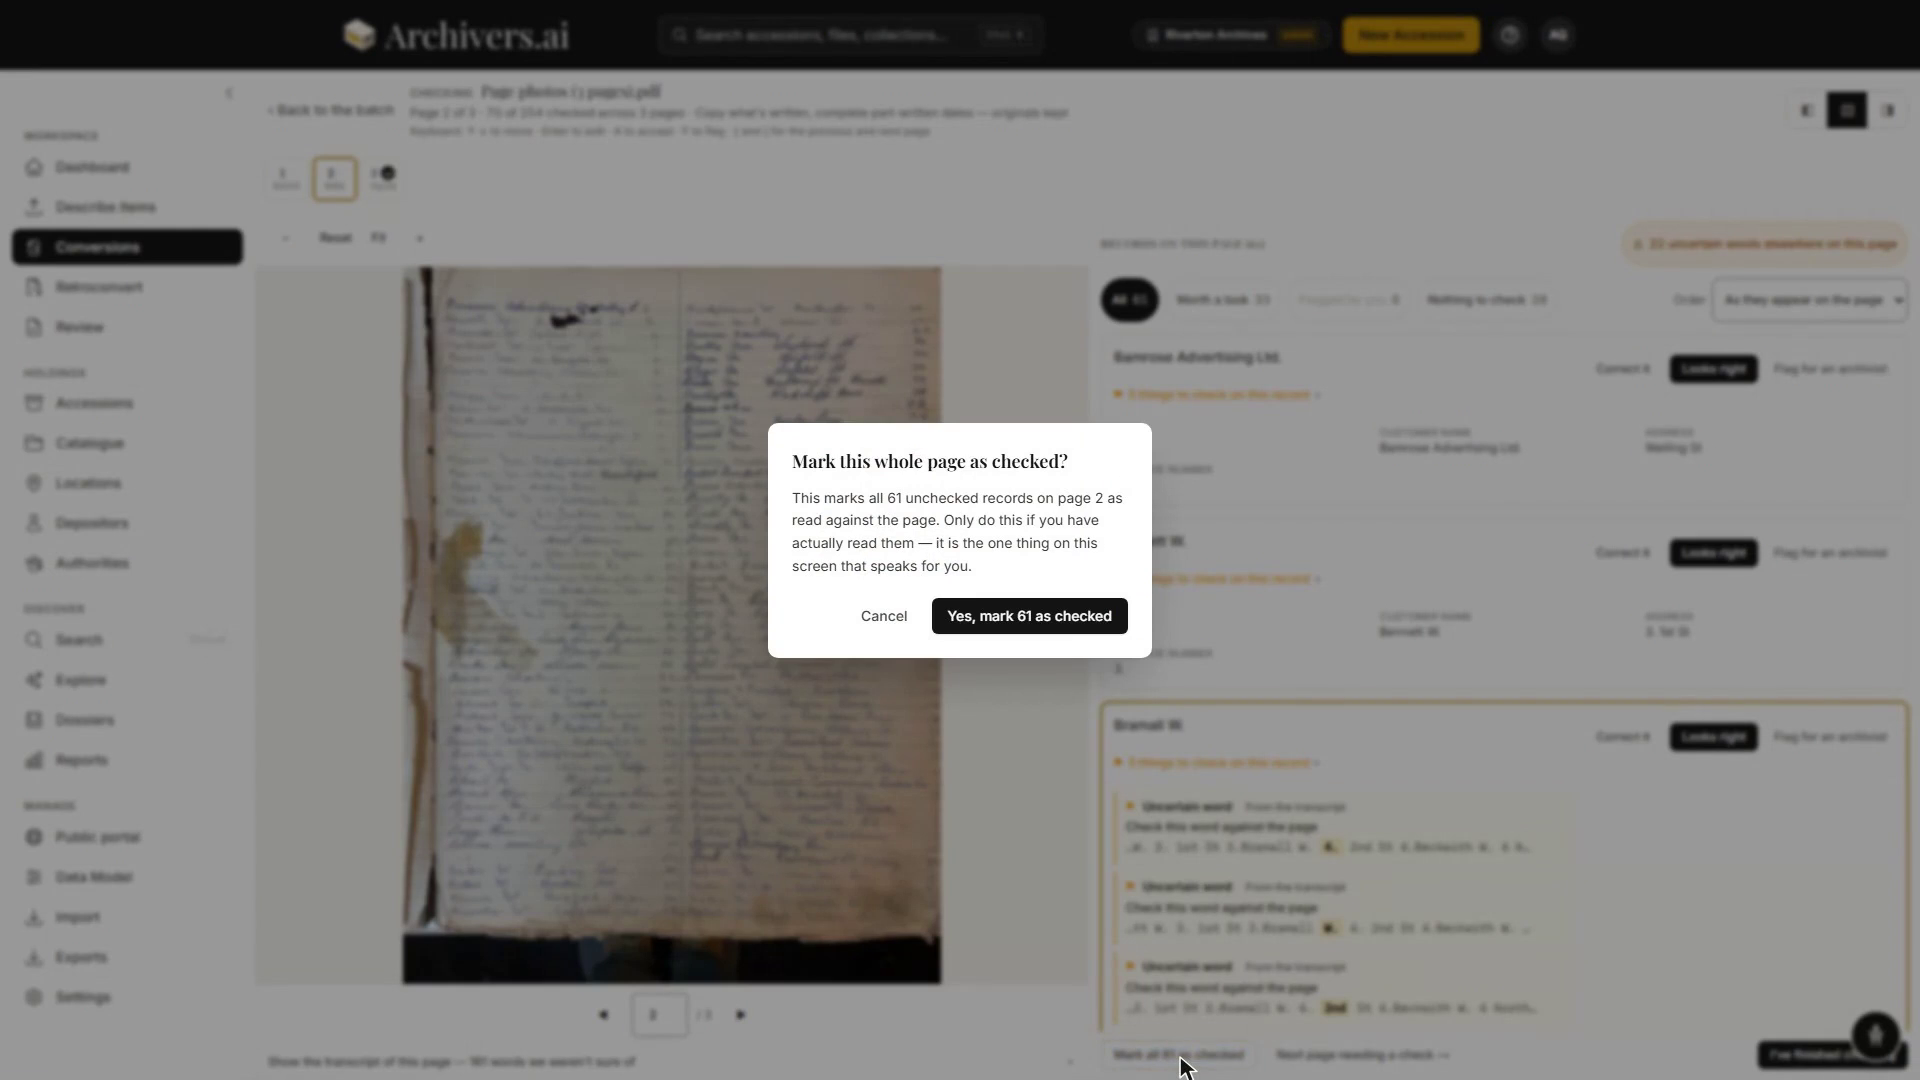
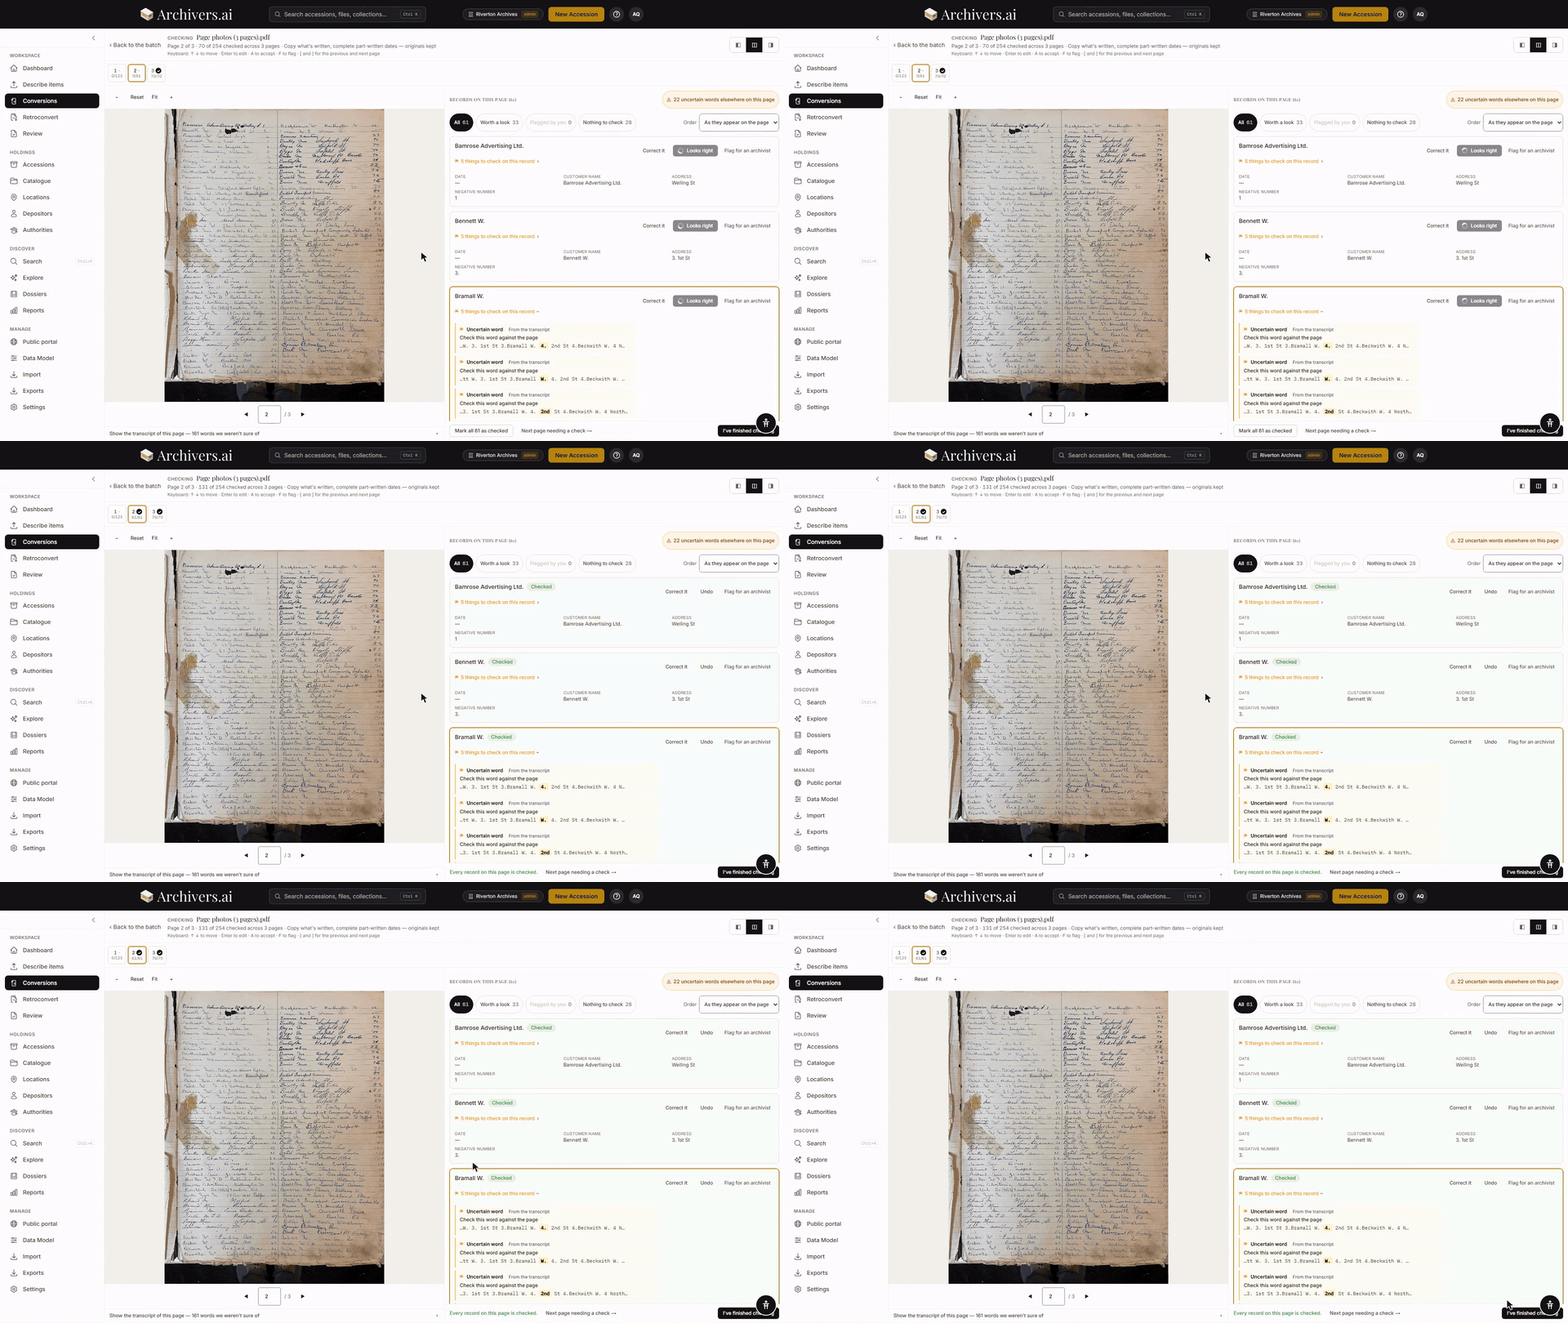
Once you confirm, every card on the page gains a Checked badge, the page gets a tick in the page strip, and the bottom bar confirms your coverage: Every record on this page is checked.
Whole-Page Issues
If a whole column is marked "couldn't read this" all the way down, the page will say so at the top — for example, "Reference number couldn't be read on 40 of 96 entries — is the edge of the page cut off?"
That is almost always a photography problem rather than a problem with the book. Re-photograph that page with the whole width in frame and run it again.
Coming Back Later
This page has its own web address, so you can bookmark it, close the tab, and come back tomorrow. A colleague can visit the same address too — useful when one person did the photography and another does the checking.
Click Back to the batch (top left) to return to the batch page, where you can see all your batches and find the one you were working on.
Keyboard Shortcuts
- ↑↓ — move between records
- Enter — expand / collapse a record for editing
- A — accept / undo acceptance
- F — flag for an archivist
- [ and ] — go to previous / next page
Accepted, Checked, and Committed — What Each Word Means
Three different terms show up in the review flow, and they mean three different things:
- Accepted is a workflow marker — it means "this entry has been dealt with". Depending on how your workspace is set up, the system can mark entries as accepted automatically if they look clean, or every entry can wait for a person to accept it by hand.
- Checked is the count you see in your batch list — how many records have you actually read against the original page and accepted. This is the careful human work.
- Committed is the moment a batch's records actually land in your catalogue for good. A batch can be fully checked and still not committed — checking and committing are separate steps that can happen days apart, and can be done by different people.
Until you commit, records show as "Not yet in your catalogue." They exist, they're safe, and you can see and edit them — but they're not in your official catalogue yet. Committing is the button that adds them.
Committing Your Records
Once you've reviewed and accepted the records you're happy with, go to the batch summary screen.
What has to be true before you can commit? Your workspace has one setting for this (on your Settings → [Org name] → Adding converted records to your catalogue). The default is: only records that have been checked against the page. So a batch of 121 records where 119 have been checked will commit 119 — the other two stay in checking, and you can commit them any time afterwards.
Committing again is normal, not a mistake. Come back on Thursday, check the stragglers, and commit them. They join the rest. The count you see is always a fresh count of what is actually in your catalogue, never a running total.
Committing costs nothing. Every page was charged for when it was read; putting the records into your catalogue uses no further credits.
Before you commit, the system checks compatibility with your destination. An import pre-flight screen tells you, in plain language, what your chosen system will make of your records — whether every record has a unique reference number, whether dates will be searchable, whether the structure matches what the system expects. This is advice, not a barrier. Red rows are suggestions you can override; they don't stop you committing.
Sending Data to Your Catalogue System
Once a batch is committed, you can download it for your catalogue system. The download contains the committed records — records still in checking aren't in it.
Three buttons, three layouts of the same records:
- Download the spreadsheet — a plain CSV, good for review and flexible onward use. Always available.
- Download the CALM spreadsheet — the same records in the layout CALM imports, with the collection they're filed into filled in, so you don't rekey the hierarchy by hand.
- Download the Spectrum spreadsheet — the layout Spectrum systems import (MODES and the like), with the number each record was known by before.
The CALM and Spectrum layouts depend on your plan and on which formats an admin has switched on in Settings; where one isn't included, the button says so rather than failing.
Before you commit there is nothing to send, because nothing has been decided yet. The commitment is the moment the records become final.
If the Batch Went Wrong
The batch summary carries If this batch went wrong — two acts, deliberately kept apart, because one is reversible and one is not.
Take these back out of the catalogue. The records come out and wait in checking. Nothing else about them changes — everything you've written and checked stays exactly as it is, and you can put them back in whenever you like.
Delete this batch's records. This permanently deletes the records the batch made. Nothing brings them back, so you type the number of records to confirm. The pages themselves are untouched, so you can read them again as a fresh batch. The credits the batch used aren't given back — the pages really were read.
Next Steps
- Export — download the committed records as a plain spreadsheet, or in CALM's or Spectrum's layout
The batch summary screen guides you through the import check and export.